Category: Brewing Guides

  • How to Make the Perfect French Press Coffee

    How to Make the Perfect French Press Coffee

    After Plenty of Trial and Error…

    I’ll be honest: I used to think making French press coffee would be a breeze.
    Grind some beans, pour some water, and boom, coffee, right?
    Oh man, was I in for a surprise.

    My early attempts were all over the place. Sometimes it was too weak, other times way too bitter. I’d end up with gritty sludge at the bottom or coffee that tasted like dishwater. If you’ve been there, you know the pain. Turns out, getting it right actually takes some care.


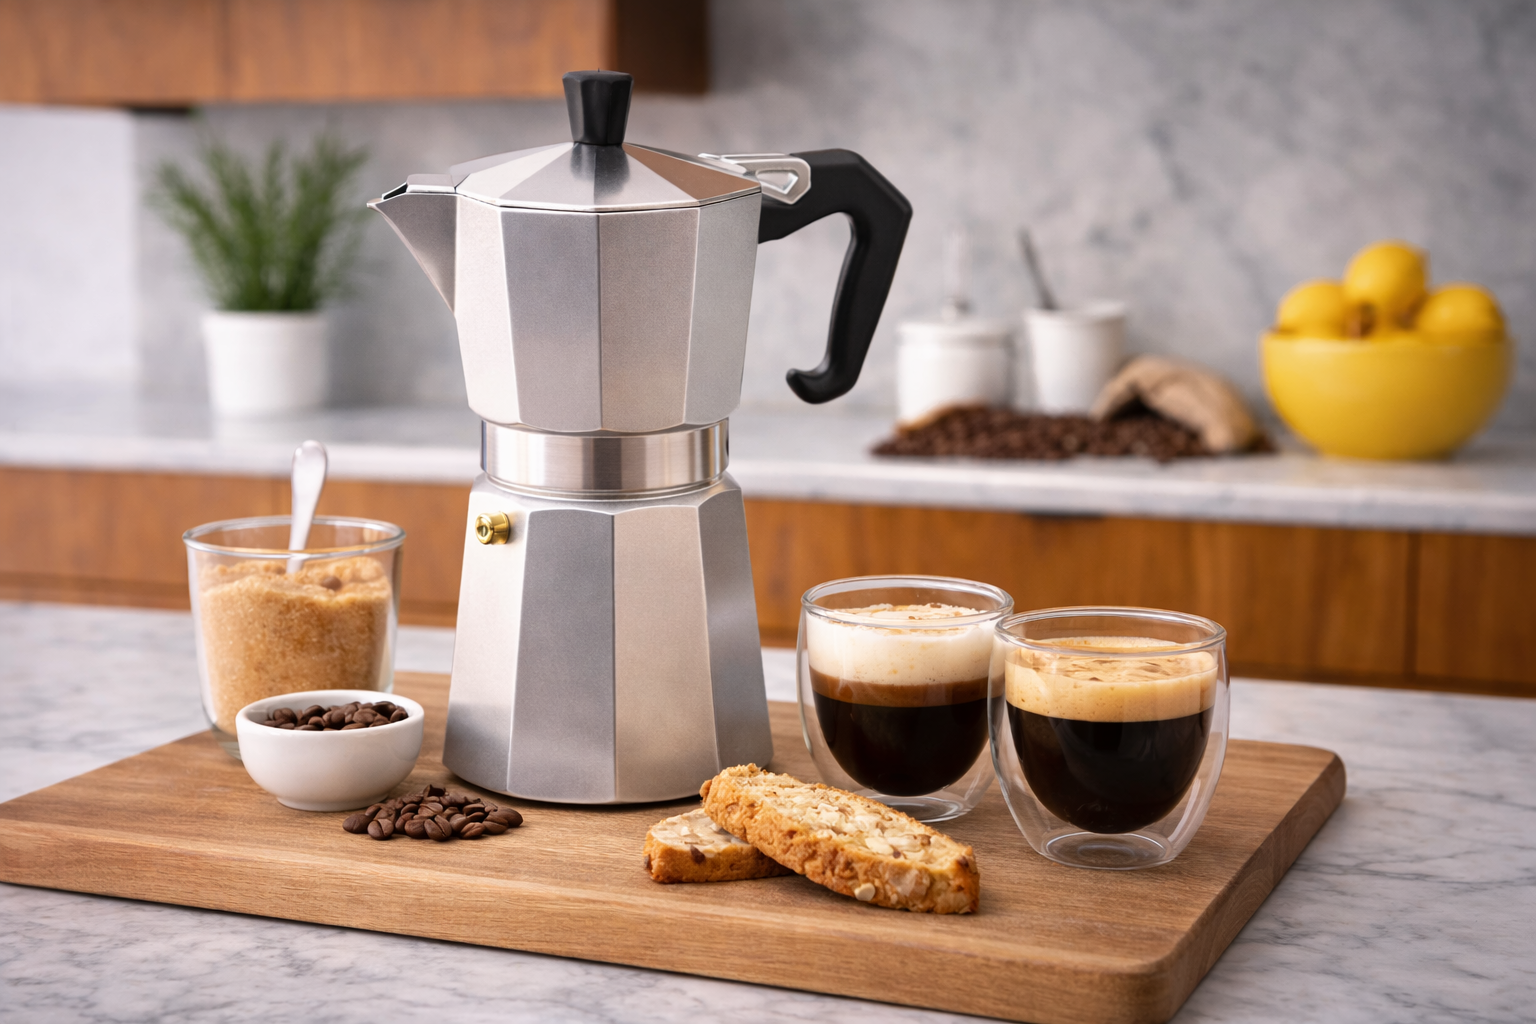
    First thing’s first, you need the Right Equipment. This is where I messed up for way too long for way too long. Having a quality French press makes a HUGE difference.

    This is the one that changed EVERYTHING.

    After struggling with cheap presses, switching to this MuellerLiving 20oz Stainless Steel French Press fixed most of my problems instantly.

    It’s double-walled stainless steel, so it actually keeps the coffee hot while it brews. The 4-level filter system (no joke) finally got rid of the gritty sludge I kept getting at the bottom of my cup. Pressing is smooth, not stiff or awkward, and it just feels solid.

    It makes up to four 5-oz cups, travels well, works for coffee or tea, and it’s dishwasher safe, which I appreciate way more than I thought I would.

    If you want cleaner, hotter French press coffee without overthinking it, this is the one.

    How to Make the Perfect French Press Coffee

    1. Grind Your Beans Coarse

    French press hates fine coffee grounds. Go Coarse, chunky, and uneven, like sea salt. Anything finer and you’ll end up with sludge at the bottom of your cup.


    2. Heat Your Water

    You want hot water, not boiling. Around 200°F is perfect. Let boiling water sit for about 30 seconds so it doesn’t scorch the coffee.


    3. Add the Coffee & Water

    Add your coarse coffee to the press first, then pour in the hot water. I stick to about a 1:15 coffee-to-water ratio, it’s strong without being overpowering. Give it a gentle stir so everything gets evenly soaked.


    4. Let It Steep

    Put the lid on and let the coffee sit for about 4 minutes. This is where the flavor develops, so don’t rush it. Four minutes hits the sweet spot.


    5. Press Slowly

    Press the plunger down slowly and evenly. If it feels stuck, don’t force it, slow and steady keeps the coffee smooth and clean.


    6. Pour Immediately

    Once you’re done pressing, pour the coffee right away. Letting it sit with the grounds keeps extracting and can throw off the flavor.


    That’s it. After plenty of trial and error, this is the process that finally gave me a consistently great cup of French press coffee. Once you get the grind right, control the water, and use a solid press, it stops being frustrating and just works.

    If you want to make it easy on yourself, start with the same French press I use here:

  • How to Moka Pot Coffee (The Right Way, After Plenty of Trial and Error)

    How to Moka Pot Coffee (The Right Way, After Plenty of Trial and Error)

    Moka pot coffee wasn’t something I picked up and nailed right away.

    At first, it felt unpredictable. Some mornings it was drinkable, other mornings it was sharp and bitter for no obvious reason. I kept tweaking little things, thinking it was just a matter of preference, but nothing felt consistent.

    Eventually, I realized the problem wasn’t the moka pot itself — it was the small details I kept brushing off.


    Where I Kept Going Wrong

    Once I paid attention, the pattern was pretty obvious. Whenever the coffee tasted off, it usually came down to one of these:

    • Grinding the coffee too fine
    • Pressing or packing the grounds into the basket
    • Starting with cold water
    • Using high heat to “speed things up”
    • Letting it sit on the stove after it finished brewing

    None of these seem like a big deal on their own, but together they make moka pot coffee taste harsh and burnt.


    Using the Right Moka Pot Matters

    This took me longer to realize than it should have.

    I started out with a cheap moka pot and didn’t think much of it. Thin metal, uneven heating, weak seals — all things I ignored. Once I switched to a better-built moka pot, the process instantly became more predictable and the coffee tasted cleaner.

    This is the Moka Pot I use and recommend:

    From there, everything else fell into place.


    How to Moka Pot Coffee

    1. Grind the Coffee Right

    Use a medium-fine grind. Too fine turns bitter. Too coarse tastes weak. This step matters more than most people realize.


    2. Fill with Hot Water

    Fill the bottom chamber with hot water, stopping just below the safety valve. Starting hot keeps the coffee from overcooking on the stove.


    3. Insert the Filter Basket

    Place the empty filter basket into the bottom chamber so it sits securely above the water.


    4. Add Coffee (Don’t Pack It)

    Fill the basket and level it gently. No tamping. Packing the grounds restricts flow and ruins the extraction.


    5. Brew on Low Heat

    Low to medium heat is the move here. High heat rushes the brew and pulls out harsh flavors.


    6. Remove When It Gurgles

    Once the coffee finishes flowing and starts to sputter, take it off the heat right away.


    7. Stir and Pour

    Give it a quick stir in the top chamber, then pour and enjoy.


    Final Thoughts

    Moka pot coffee finally made sense once I stopped rushing it and paid attention to the basics. It doesn’t need tricks — it just needs a little patience and the right setup.

    If you want to skip the trial and error, starting with a solid moka pot helps a lot:

    Strong, rich, and worth the effort.